HOWTO - Clarkconnect - Linux Router/Firewall
By Erik Rodriguez
This article is a HOWTO on the installation and configuration of a dedicated Linux router/firewall using Clarkconnect. Clarkconnect also includes popular services such as SQUID, Apache, Samba, SSH, and more. Download it now.
Introduction
Clarkconnect is a Linux distro built to run as a firewall/router. Using Clarkconnect is a great way to gain extra capability with NAT that you don't get from the cheap Linksys routers. I did another review on a similar package called Smoothwall. While both of these operating systems perform the same basic routing functions, I was definitely more impressed with Clarkconnect. While Smoothwall is geared to run a very slow hardware, Clarkconnect is the best solution for running a functional server with routing. Smoothwall lacks some features of traditional Linux systems. Clarkconnect is based on Red Hat Linux. It runs the 2.6.x kernel which is an improvement over the 2.4.x kernel used with smoothwall and RHEL3. The machine can be fully administered from a simple web-interface, but you still have the ability to SSH into the machine. This HOWTO is specific to Clarkconnect Home Edition 3. The next few sections will show you how to install and configure your Clarkconnect box.
Requirements
It's recommended you use a machine that is 500 MHz or faster. You can install Clarkconnect as a stand-alone server. However, to use it as a firewall, you will need 2 network cards. After all, a true "firewall" is a machine with 2 or more network interfaces. You may or may not need a crossover cable as well. The switch I use (Dell Powerconnect 2650) performs auto-sensing, so there is no need to ever use a crossover cable. You can see the topology is displayed below:
Specs
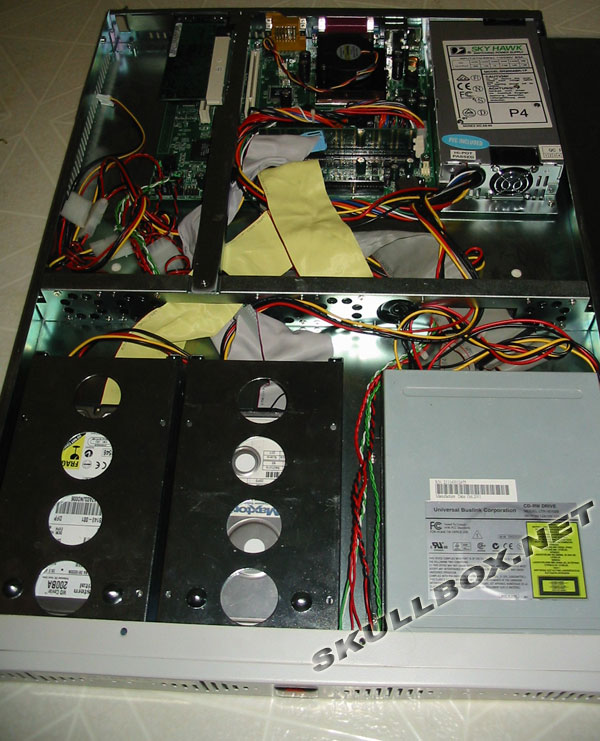
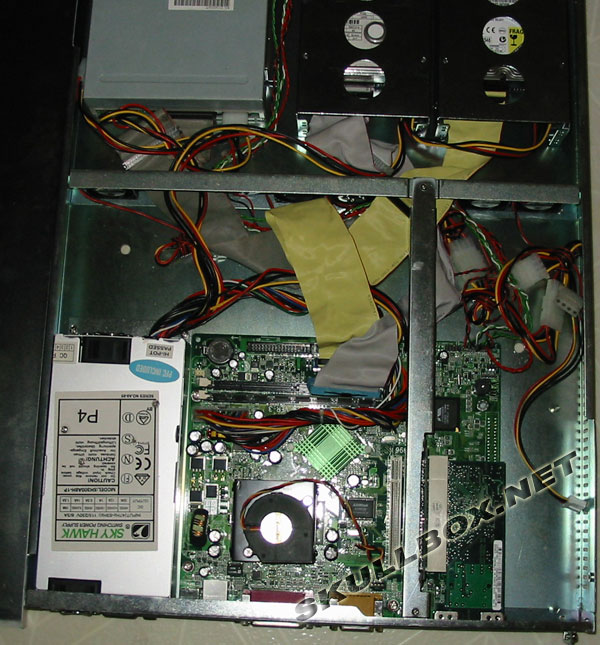
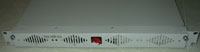
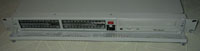
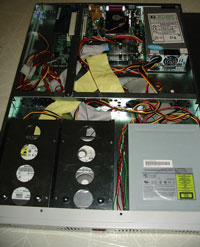
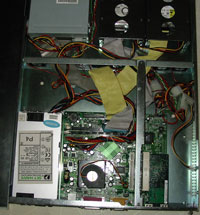
The specs for the machine I used are listed below:
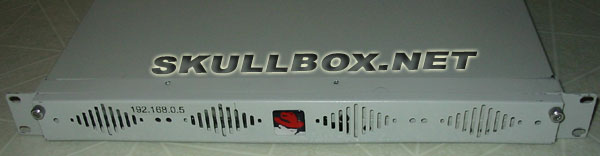
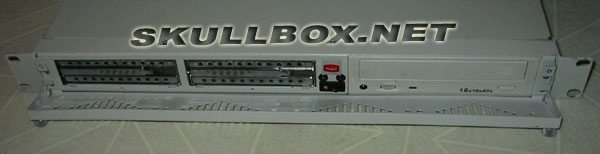
- 1U server
- AMD Athlon 750 MHz
- 512 MB PC133 SDRAM
- 20 GB IDE Hard Drive
- 10/100 On-board NIC
- Intel Pro 100+ NIC
Click to Enlarge
The next section will inform you of certain things you should know about the setup process. A few problems and confusing parts.
Installation
The installation is pretty straight-forward. Make sure you have your BIOS set to boot from a CD, and the installation process begins automatically. Remember, that installing this will delete everything on your hard drive. A format is required for the installation to begin. Depending on how large your hard drive is, the format and file copy process should not take long. When it is all finished, Clarkconnect will probe your machine for network interfaces. I did have a problem with assigning the network interfaces. Clarkconnect did not report the MAC addresses, so I wasn't sure which NIC it was assigning as eth0 or eth1. I basically just guessed which interfaces were which and kept my fingers crossed. Another thing I didn't like was that by default it Clarkconnect wanted to make the LAN interface 192.168.1.1 which I changed to 192.168.0.1.
Networking
Clarkconnect provides several very useful networking tools. Along with several daemons, you have the ability to limit bandwidth, filter traffic, etc. Listed below are some popular network services:
- Samba
- Apache
- SSH
- Squid
- mySQL
- ProFTP
- Squirrel Mail
- Snort
Web Interface
Once you reboot the machine, you can access it from a web interface (usually http://192.168.1.1:82) unless you changed it. The next few sections show the administration and features of the web interface. The image below shows the details of the IP networks via the web management interface.
Management
During the configuration process you were asked to specify a root password. To login to the web interface, you must use root as the username and the password you specified. It is strongly suggested that you create another user. Clarkconnect gives you several different ways to manage the server:
- SSH (like every linux box)
- Web Interface (via port 82)
- Webmin
I felt very comfortable with Clarkconnect because it is so much like Red Hat. The directory structure and operation is identical to RHEL4. Webmin actually detects it as Fedora Core 2. You can view the status of the machine at all times with various options. See the images below:
You can also see a quick visual of all the services running on the server:

Bandwidth
Clarkconnect offers several great tools for bandwidth management. Besides running a squid server for webcache, you have the ability to throttle, filter, and block IP traffic. It is possible to throttle IP traffic based on specific IPs or services. This is especially helpful if you have a bandwidth hog on your network (IE - torrent freaks who won't cap their uploads). See the images below:

I increased the cache size for the squid server since I had a 20 GB drive. You should be careful when creating a bandwidth rule. You'll notice the external bandwidth value is set very high. If you are running a samba server, specifying lower values can create a bottleneck. Notice the rule for capping torrent uploads. Priority numbers 1-7 are used. A priority of 1 is high. Meaning, if you specify an priority of 1 for FTP, any ftp connections will take priority over other connections. This can be useful if you are using this as a firewall for a web server or other server with high bandwidth requirements. You should also know that you are not limited to a single IP. You can enter a range of IPs and even entire subnets. For example, you could enter the value 192.168.0.1/24 which would specify the etire LAN. You should also pay special attention to the units used. Remember, there is a different between kbits (kb) and kbytes (kB).
Package Installation
I was very impressed with the package installation options. While this is a true Linux OS, it will work with RPMs just as any Red Hat or Fedora distro. Smoothwall will not! The web-based management allows you to automatically install certain add-on packages. I installed webmin by selecting it from a list. It was automatically downloaded and installed. I didn't have to execute a single shell command. This is very similar to the Red Hat Network available with RHEL. See the images below:
Updates
In order to do any updates to the OS, you must first register the system by creating an account. This is FREE! This confuses many people because Clarkconnect has several other paid versions. You can register as many systems as you wish. When you have an active account, you can purchase add-on packages from Clarkconnect. However, for the purposes of home use, you really don't need anything else. The extras they charge for are things like email virus scanning, spam guards, etc. They are charged monthly, and in my opinion the prices are way to much.
Traffic Graphs and Reports
The traffic graphs and reports are pretty good. The squid file uses SARG, a log analyzer built for squid. Smoothwall did not have this. It also includes awstat for apache web stats. The only thing I was disappointed with was the traffic graphs. Smoothwall used RRDtool and the graphs were very clear and easy to read. Clarkconnect produces a large variety of graphs, but they aren't pretty to look at. See the images below:
Troubleshooting...
I didn't have any trouble installing or configuring anything. I had to do a tiny bit of configuration with webmin, but still less than most other Linux systems I've used. The build from Red Hat makes it easy to customize because there is a ton of support out there. The only thing I didn't like is that you really can't do anything from the console. There is no X server, so you don't have KDE or Gnome. Instead, there is a text-only menu-driven interface from the console that isn't at all friendly. So far, this is the best Linux firewall I've seen in respect to production and customization.
Contact Us
NOTE: this form DOES NOT e-mail this article, it sends feedback to the author.
|
|